Home
About
Sign in
Subscribe
Etonix Pyro
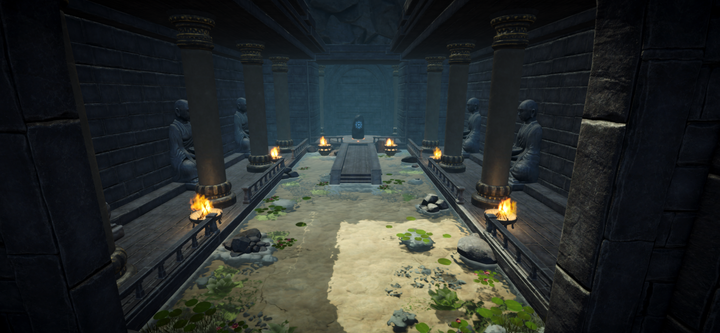
Stylized Sanctuary